

Google forms is a tool which helps individuals or businesses in collecting data from users. It can be used to collect data or surveys, feedbacks, registrations, send party invites and much more.
Let’s see how to create a form on Google Forms.
Step 1: Go to https://docs.google.com/forms and login if you are not already logged in.
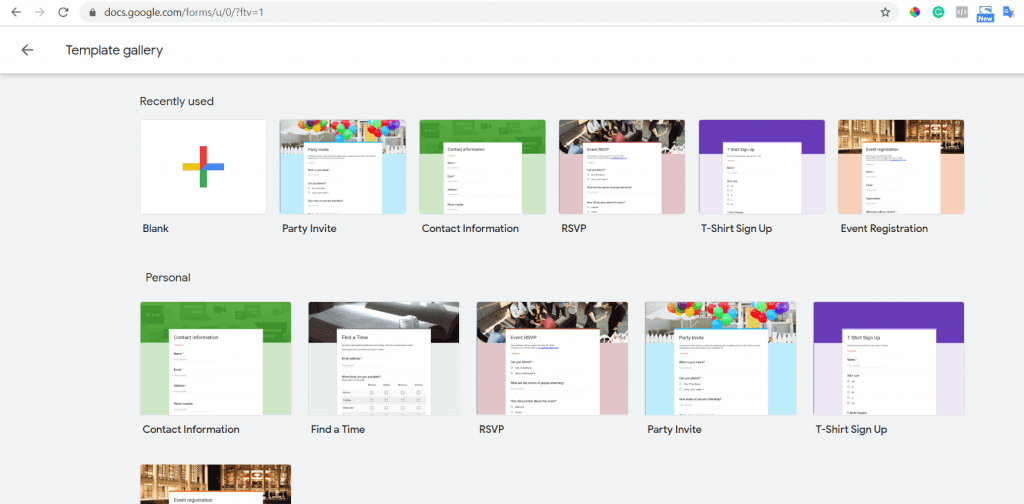
Step 2: You can choose “Blank” form or any of the templates that meets your requirements. For illustration purpose, I am choosing “Blank”.
Step 3: Set form title, description & create your form fields.
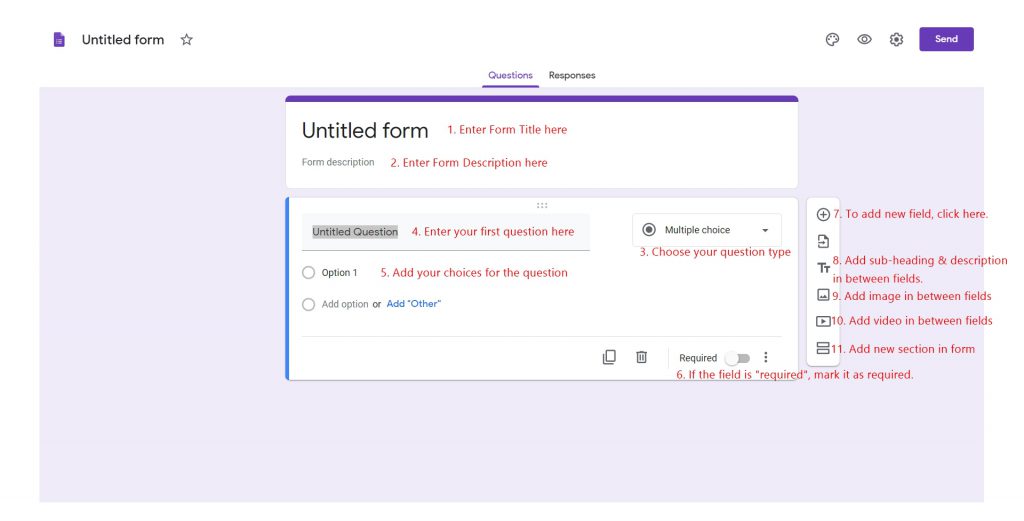
Please refer to the below points and compare them with the marked comments in above image.
- Enter form title
- Enter form description
- Choose your question type (Suppose we chose Multiple Choice)
Available options are: Short Answer, Long Answer (Paragraph), Multiple Choice, Checkboxes, Drop-down, File Upload, Linear Scale, Multiple Choice Grid, Tick Box Grid, Date, Time. - Enter your first question
- Add your choices. You can add “Other” as well if you want user to enter his own choice if his option is not mentioned in list.
- Mark field as required. If a field is marked as required, then user will not be able to submit the form without filling it up.
- Click on the “+” sign to add new fields.
- In case you want to add Sub-heading and description in between the fields, click on “TT” icon.
- You can add an image between your fields.
- Video can be added in between the fields.
- If you want to make your form multi-step with “Next” & “Previous” buttons, you can divide them into sections by clicking on “double-rectangle” icon.
Step 4: Now, we will design the form. You can reflect your brand in the design by choosing your brand colors, fonts or header image.
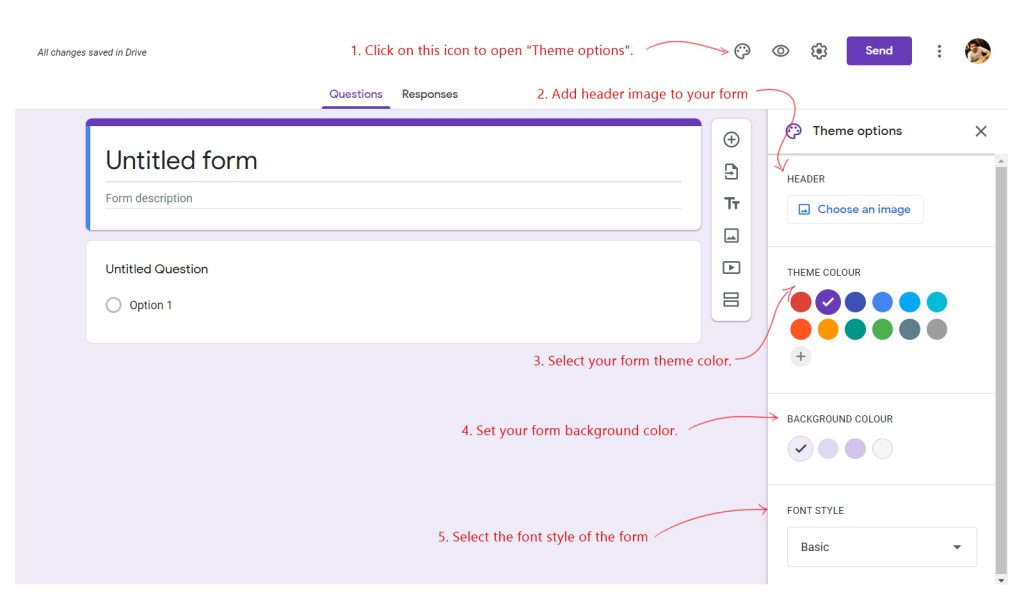
- Click on the icon to open the “Theme Options”.
- Add relevant header image.
- Choose form theme color. I suggest you to use your brand color. It increases trust-factor in your customers.
- Choose the background color of the form. Don’t pick very bright colors for background. It shouldn’t pinch users’ eyes.
- Pick a good readable font style. If your brand font is in the list, it will be good to use it.
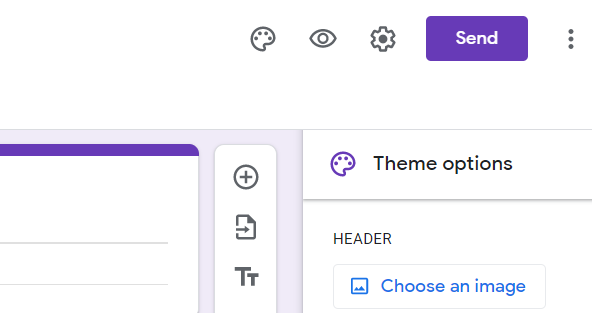
On the top right, we have few more options which include Preview, Settings & Send.
Using the eye icon, you can preview the form you have create.
In Settings, you can explore more features of Google Forms like Limit users submission to 1 response only, User can edit their response after submission, Users can overall summary of submitted data (like for surveys).
Step 5: Send the google form to your customers or other people
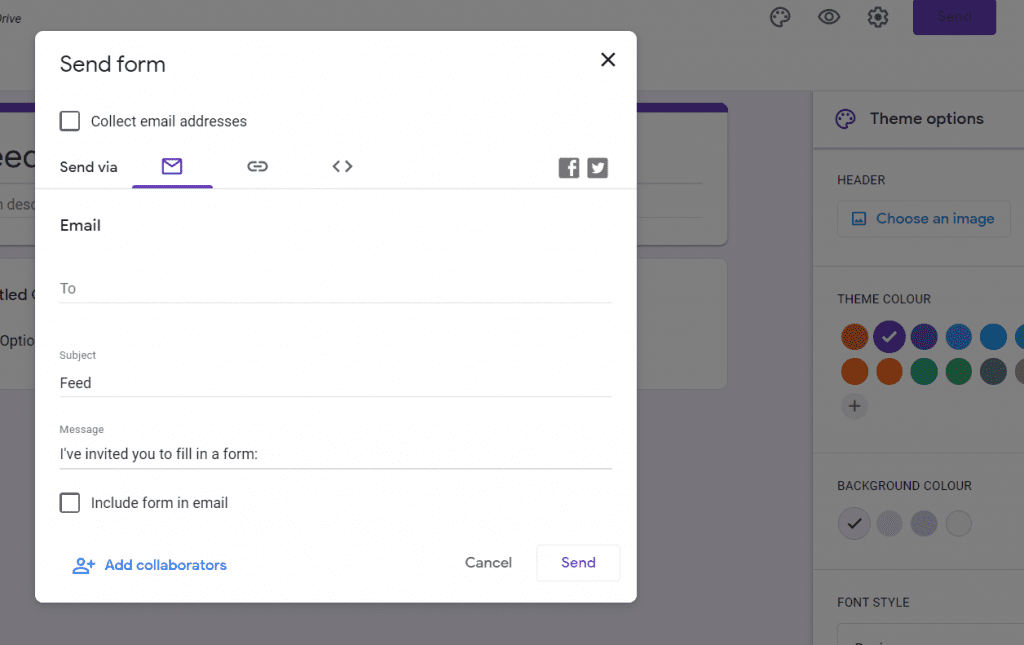
To send the form to other people, you have 3 options.
a. Send the form through email id (with a subject line and message)
b. Unique URL – People who have this URL can fill the form and submit the data
c. Embed form on website – You can even embed this code in your website using the provided embed code. People can visit your website and submit the form.
Besides these, you have option to share your form via Facebook or Twitter. You can do this by clicking on the corresponding icons.
I hope you find this article helpful. If yes, why not share it with your colleagues and solve a problem of theirs 🙂

